Set up dynamically updated filter presets for more elaborate and precise segmenting. This will allow you to organize your Inbox in a more sophisticated way, amongst other use cases.
Creating filter presets
Go to the ‘Audience’ section of your dashboard and select the ‘Filter presets’ tab to create new filter presets.
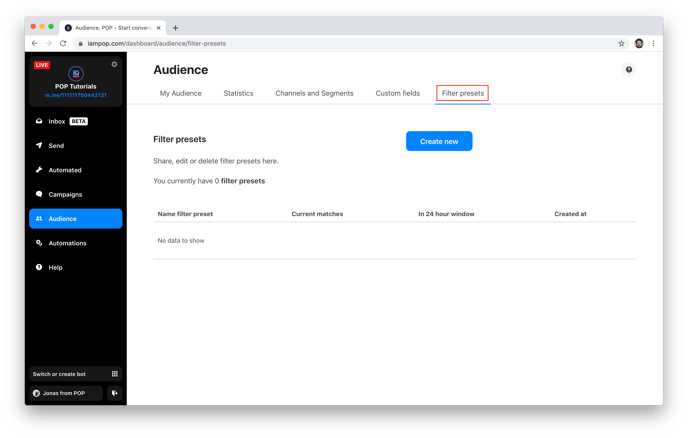
Click on the ‘Create new’ button to start customizing a new filter preset. Combine multiple filter settings, such as location, gender, time zone, and whether people are in specific segments of your audience.
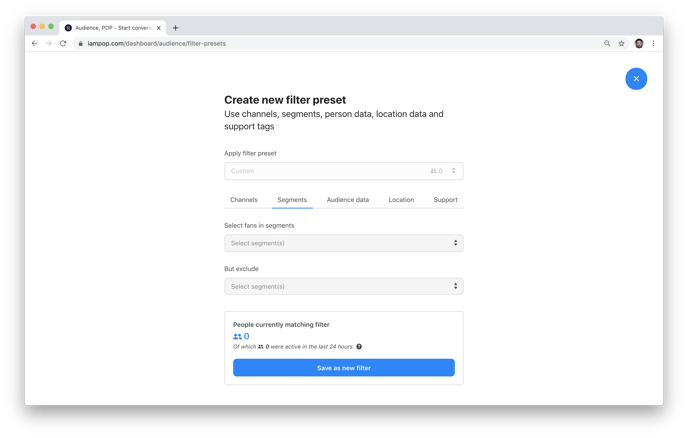
As an example, we’ll create a filter preset for all users in and around Amsterdam that were segmented as participants in our online raffle campaign.
To do this, we’ll select the ‘Entered online raffle’ segment, place a pin on Amsterdam in the ‘Location’ tab, and click the ‘Save as new filter’ button.
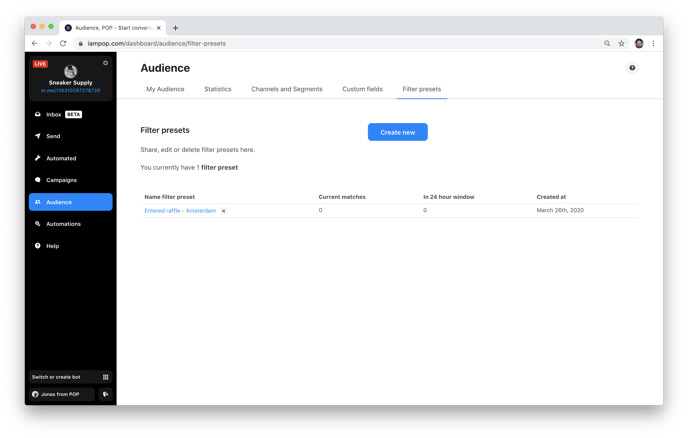
As you can see, at the moment there are no users that match these filters. However, as our online raffle campaign is running, this filter preset will automatically show all users that match the filters we set up.
When we click on the filter preset, we can see the exact filter settings. These will not be editable once the filter preset has been saved. There is, however, the option to share this data to Zapier.
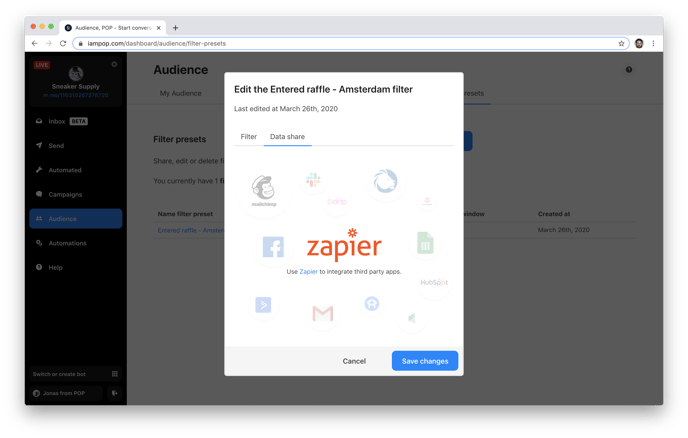
This integration allows you to sync data through Zapier with, for instance, your CRM.
You can also go to your Inbox, choose advanced filters, and apply one of your filter presets, to see all Messenger conversations with the people that match this preset in your Inbox.
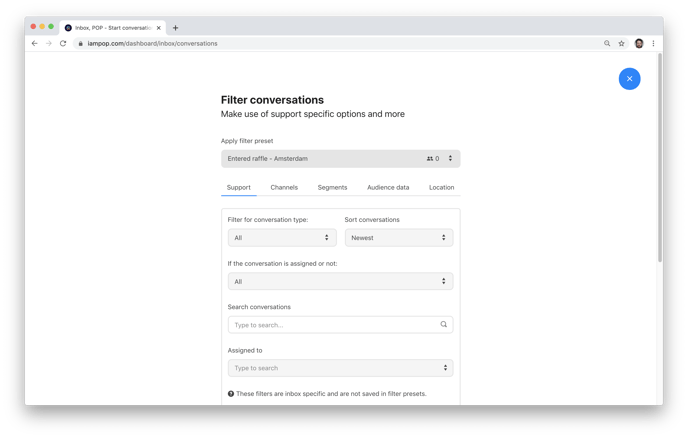
This allows for more sophisticated and dynamic filtering in your Inbox. It’s the perfect tool for manually responding to a specific subset of your audience.